Fronting Self-Hosted Infrastructure with Cloudflare: Edge Protection, Zero Inbound Ports, and Origin Cloaking
Why putting Cloudflare in front of your self-hosted stack is essential: shielding your origin IP, eliminating inbound firewall ports with Cloudflare Tunnel, mitigating edge DDoS attacks, offloading bandwidth, and enforcing Zero Trust security boundaries.
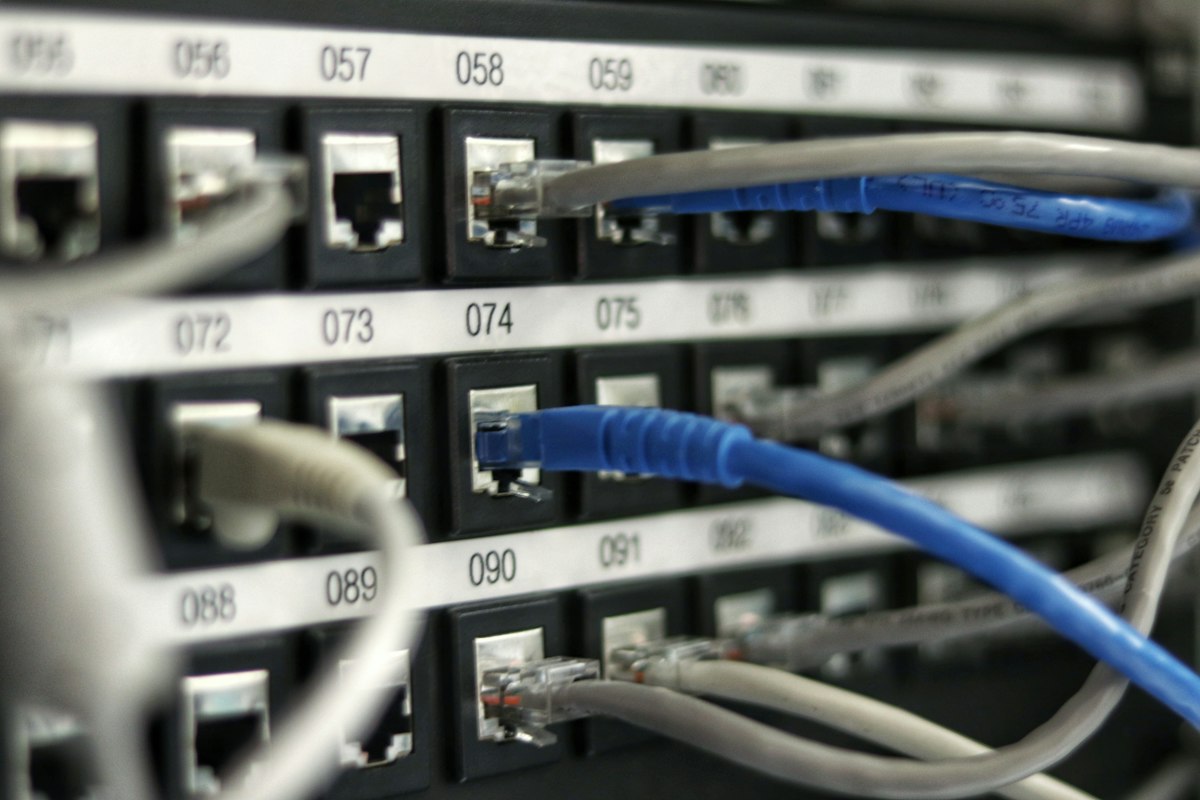
Self-hosting modern applications and services on dedicated hardware—whether running Proxmox VE, bare-metal Linux, or lightweight container clusters—gives engineers complete sovereignty over their data, compute, and application architecture. You own the hardware, you avoid ballooning cloud SaaS bills, and you can tune your stack down to the bare kernel.
However, the moment you decide to publish a self-hosted service to the wider public internet (such as this blog), you cross an unforgiving threshold: the Wild West of public edge networking.
The moment a DNS record points to a public-facing IP, automated port scanners, credential stuffers, vulnerability exploit bots, and potential DDoS vectors begin probing your perimeter around the clock.
To safeguard our self-hosted infrastructure without compromising performance or privacy, we implemented Cloudflare edge proxying and Cloudflare Tunnel architecture. Here is an architectural breakdown of why this setup is critical, how it works under the hood, and how you can apply these principles to bulletproof your own self-hosted workloads.
1. The Perils of Traditional Port-Forwarding
For years, the standard approach to self-hosting web applications looked something like this:
- Buy a public domain.
- Configure dynamic DNS (DDNS) pointing directly to your residential or office WAN IP.
- Open ports
80(HTTP) and443(HTTPS) on the edge router or firewall. - Forward that incoming traffic to an internal reverse proxy (such as NGINX, Caddy, or Traefik).
While functional, this model has severe security and reliability drawbacks:
[Public Internet]
       │
       ▼ (Direct traffic, scanners, DDoS)
[Your Router / WAN IP]  <--- Publicly exposed!
       │ (Port Forwarding: 80 / 443)
       ▼
[Internal Network / Reverse Proxy]
       │
       ▼
[Application Services]
The Inherent Vulnerabilities
- Direct Exposure of Your Real IP: Anyone who performs a simple
digornslookupimmediately discovers your external IP. This reveals your ISP, approximate physical location, and provides an unshielded target for direct attacks. - Port Scanners & Shodan Indexing: Autonomous scanners continuously sweep IPv4 ranges. Open ports get fingerprinted, cataloged, and indexed by search engines like Shodan and Censys within hours.
- DDoS Susceptibility: Upstream bandwidth on home and small-office broadband connections is heavily asymmetrical. A modest 50 Mbps or 100 Mbps uplink can be saturated by a trivial Layer 7 HTTP flood, taking down your entire home or office internet connection.
- Firewall Holes: Every inbound port forward punched through your router represents a potential ingress vector into your local network should the reverse proxy or host OS suffer a zero-day exploit.
2. The Solution: Edge Shielding & Origin Cloaking
To eliminate these vulnerabilities, we placed a managed Anycast edge between the public internet and our private infrastructure.
+-----------------------+
|    Public Internet    |
|   (Browsers / Users)  |
+-----------------------+
            │
            ▼ HTTPS (HTTP/3, TLS 1.3)
+-----------------------------------------------------------+
|               Cloudflare Global Anycast Edge              |
|                                                           |
|  • Edge TLS Termination & Strict Certificate Validation   |
|  • DDoS Scrubbing & Layer 7 Web Application Firewall (WAF)|
|  • Bot Fight Mode & Threat Intelligence Filtering         |
|  • Global Asset Caching (Edge PoPs Worldwide)             |
|  • Cloudflare Access (Zero Trust Perimeter Protection)    |
+-----------------------------------------------------------+
                            │
                            │ Encrypted Outbound Tunnel
                            │ (Zero Inbound Ports Opened!)
                            ▼
+-----------------------------------------------------------+
|             Private Self-Hosted Infrastructure            |
|                                                           |
|  +─────────────────────────────────────────────────────+  |
|  |               Hypervisor Host (Proxmox VE)          |  |
|  |                                                     |  |
|  |   +──────────────────────────────────────────────+  |  |
|  |   |           Isolated Container (LXC)           |  |  |
|  |   |                                              |  |  |
|  |   |   [cloudflared daemon] <──> [Next.js App]    |  |  |
|  |   |                                              |  |  |
|  |   +──────────────────────────────────────────────+  |  |
|  +─────────────────────────────────────────────────────+  |
+-----------------------------------------------------------+
Under this architecture, the origin server never accepts direct inbound connections from the internet. In fact, our router has zero open inbound ports.
Let us explore the core technical pillars that make this architecture resilient.
3. Pillar 1: Zero Inbound Ports via Cloudflare Tunnel (cloudflared)
The cornerstone of modern self-hosted edge security is Cloudflare Tunnel (formerly known as Argo Tunnel).
Instead of requiring you to poke holes in your router's firewall and forward ports to internal IP addresses, a lightweight, open-source daemon named cloudflared runs inside your local environment (either directly in an LXC container or as a Docker companion container).
How It Operates
- Upon startup,
cloudflaredestablishes multiple outbound-only persistent encrypted connections (via QUIC or HTTP/2 over TLS) to the nearest Cloudflare edge data centers. - When a public visitor requests
https://blog.example.com, Cloudflare's edge receives the request, terminates SSL, applies security rules, and forwards the HTTP request through the established outbound tunnel down to your local daemon. - The local
cloudflaredprocess proxies the request tohttp://localhost:3000(the Next.js web application) and returns the response back through the tunnel.
Why This is Revolutionary
- Works Behind CGNAT & Dynamic IPs: Because all connections are strictly outbound, it works effortlessly behind Carrier-Grade NAT (CGNAT), 4G/5G failover connections, or residential connections where your ISP changes your IP dynamically.
- Total Ingress Lockdown: You can block all incoming traffic on WAN ports
80and443at your router. In fact, you can block all unsolicited inbound traffic on your external firewall entirely. - Isolated Failure Domain: Even if an attacker attempts to scan your WAN IP directly, every port responds as closed or filtered.
Sanitized Tunnel Configuration Pattern
In an unprivileged container or Docker setup, the tunnel can be defined via a clean configuration file:
# /etc/cloudflared/config.yml (Sanitized Example)
tunnel: <TUNNEL_UUID>
credentials-file: /etc/cloudflared/<TUNNEL_UUID>.json

ingress:
  # Route public blog traffic directly to the local application runtime
  - hostname: blog.example.com
    service: http://127.0.0.1:3000
    originRequest:
      connectTimeout: 10s
      noTLSVerify: false

  # Catch-all rule returning 404 for unmapped subdomains
  - service: http_status:404
Running this as an automated systemd service ensures the tunnel automatically restarts, re-authenticates, and repairs itself across server reboots.
4. Pillar 2: True Origin Cloaking & Preventing IP Leakage
When a domain is proxied through Cloudflare (the famous "Orange Cloud" mode in DNS settings), Cloudflare replaces your origin IP address with its own Anycast IP addresses.
When a user resolves your domain:
nslookup blog.example.com
They see:
Address: 104.21.14.x
Address: 172.67.160.x
These IP addresses belong to Cloudflare's global edge network. Your true public WAN IP address is completely invisible.
Preventing Leaks
Origin cloaking is only effective if your true IP address cannot be discovered through secondary channels. When designing your DNS and network architecture, keep the following rules in mind:
- Never reuse your root domain for non-proxied services: Do not run mail servers (
MXrecords), game servers, or unproxied FTP servers on the same IP as your web origin. - Never expose internal subdomains publicly: Internal hypervisor interfaces, container management panels, and storage dashboards must remain strictly internal (accessible via WireGuard, Tailscale, or Cloudflare Access) and should never resolve to public DNS.
- Block Direct IP Access: If using traditional reverse proxying instead of Cloudflare Tunnel, ensure your firewall drops any HTTP/HTTPS request that does not originate from official Cloudflare IP ranges.
5. Pillar 3: Edge Caching & Bandwidth Offloading
One of the largest bottlenecks for self-hosted tech blogs is outbound bandwidth. If a technical article trends on Hacker News, Reddit, or Twitter/X, thousands of concurrent requests can overwhelm a home broadband connection or small server instance.
Cloudflare’s global caching engine acts as an edge shock absorber:
- Static Asset Offloading: JavaScript bundles (
/_next/static/*), compiled CSS stylesheets, SVG icons, and optimized images are cached at edge PoPs across more than 300 cities worldwide. - Near-Zero Origin Load: Subsequent visitors download heavy static assets directly from their local regional edge node (often single-digit millisecond latency), bypassing your server entirely.
- HTTP/3 (QUIC) Acceleration: Cloudflare handles cutting-edge protocol negotiation (HTTP/3 over UDP) at the edge, even if your local backend container only speaks HTTP/1.1 or HTTP/2.
By combining Next.js Server-Side Generation (SSG) with Cloudflare edge caching, our self-hosted blog delivers enterprise-grade response times while our host CPU remains near idle.
6. Pillar 4: WAF, Bot Mitigation, and Scanner Noise Scrubbing
Anyone who checks their raw web server logs quickly notices that the vast majority of inbound internet traffic is not human—it is automated malicious noise:
- Automated scanners looking for unpatched WordPress endpoints (
/wp-admin,/xmlrpc.php,wp-login.php) on non-WordPress applications. - Probers scanning for exposed configuration files (
/.env,/.git/config,/backup.sql). - Scripted scrapers consuming CPU and RAM.
Edge Scrubbing in Action
With Cloudflare's Web Application Firewall (WAF) and Bot Fight Mode:
- Scanners are Dropped at the Edge: Requests targeting nonexistent PHP or WordPress files can be blocked via custom WAF rules before they ever touch our container.
- Managed Challenge & Rate Limiting: Suspicious IP reputations or aggressive request bursts receive cryptographic managed challenges (Turnstile), keeping our server free to serve genuine readers.
- Zero Compute Impact: Every blocked request consumed zero CPU cycles and zero network bandwidth on our local hypervisor.
7. Pillar 5: Multi-Layered Defense for Admin Endpoints
On this blog, our administrative dashboard (/admin) is already fortified with:
- Strict session authentication.
- RFC 6238 TOTP Multi-Factor Authentication (MFA) with time-drift tolerance.
- Automatic session invalidation.
However, true security relies on defense-in-depth. Putting Cloudflare Access (part of Cloudflare Zero Trust) in front of administrative routes adds an extra perimeter:
Visitor
   │
   ▼
[Cloudflare Edge: /admin]
   │
   ├─► Not authenticated? ──► Prompt for Identity Provider / Email OTP
   │
   ▼ Verified Identity
[Next.js Application: /admin]
   │
   ▼
[Enter Admin Password + Hardware/Authenticator TOTP Code]
   │
   ▼
[Access Granted to Studio]
By enforcing edge access controls, an unauthorized entity cannot even reach the application login form or probe the /api/admin endpoints. They are halted at the edge before a single byte reaches the origin.
8. Pillar 6: Preserving Observability & Real Client IPs
A common hurdle when placing a reverse proxy or CDN in front of an application is IP masking in application telemetry.
Because Cloudflare sits between the visitor and your server, the raw TCP connection entering your application comes from Cloudflare's IP address. If left unconfigured:
- All visitors appear to come from the same handful of proxy IPs.
- Security rate limiters can accidentally block entire edge nodes.
- Local privacy-first analytics cannot resolve geographic metrics.
Restoring Visitor Context Cleanly
Cloudflare appends several specialized HTTP headers to every forwarded request:
CF-Connecting-IP: The true public IP address of the client who initiated the request.CF-IPCountry: The two-letter ISO country code determined by Cloudflare's geo-intelligence edge.CF-RAY: A unique 16-character alphanumeric identifier assigned to each request for distributed tracing.
In our Next.js telemetry layer (/api/track), we inspect these headers in order of precedence:
// Sanitized snippet: Extracting real visitor context
const headers = request.headers;

const visitorIp =
  headers.get('cf-connecting-ip') ||
  headers.get('x-forwarded-for')?.split(',')[0].trim() ||
  headers.get('x-real-ip') ||
  '127.0.0.1';

const countryCode = headers.get('cf-ipcountry') || 'UNKNOWN';
const traceRay = headers.get('cf-ray') || 'direct';
By leveraging CF-Connecting-IP and CF-IPCountry, our zero-dependency analytics engine accurately calculates unique daily visitor hashes and geographic distribution while keeping our visitors' data private and unshared with external tracking monopolies.
9. Sanitization & Practical Homelab Security Checklist
If you are documenting, publishing, or sharing your self-hosted setup, always sanitize your configuration files and architecture notes. Here is a practical security checklist:
- Scrub All RFC 1918 Private Addresses: Replace internal subnets (
10.x.x.x,172.16-31.x.x,192.168.x.x) with RFC 5737 documentation ranges (192.0.2.x,198.51.100.x,203.0.113.x) or generic domain placeholders. - Redact Container IDs & Hostnames: Never publish exact Proxmox container IDs, internal hostnames, or local domain search paths (
.lan,.local,.internal). - Rotate and Mask Tunnel Tokens: Never commit tunnel credentials (
*.json) or tunnel management tokens to public Git repositories. Store them in secure.envfiles that are strictly excluded via.gitignore. - Enforce Full (Strict) SSL/TLS: Always configure Cloudflare's SSL/TLS encryption mode to Full (Strict). Avoid "Flexible" mode, which transmits data unencrypted between Cloudflare and your origin over plain HTTP.
- Regularly Update
cloudflared: Keep the tunnel daemon updated to ensure that security patches, cipher updates, and protocol enhancements are consistently applied.
Summary: Enterprise Security on a Homelab Budget
Self-hosting should never mean being vulnerable. By combining Proxmox LXC containers, Docker, and Cloudflare edge architecture, we achieve the best of both worlds:
- 100% Data Sovereignty: The database, content, application runtime, and privacy analytics remain entirely on our local hardware.
- Zero Firewall Vulnerability: No open ports, no port forwarding, and total immunity from direct-to-origin port scans.
- Global CDN Performance: Readers worldwide experience lightning-fast page loads through edge caching and HTTP/3.
- Enterprise Edge Defense: DDoS mitigation, WAF rule filtering, and bot protection without paying thousands in enterprise SaaS fees.
Infrastructure ownership is about understanding every layer of your stack—from the physical hypervisor to the global edge network.
Stay secure, keep self-hosting, and build resilient systems.
Support Independent Technical Content
If this article helped you build, debug, or host your applications, consider supporting the blog on Ko-fi. Every cup of coffee helps keep this site ad-free and 100% self-hosted!